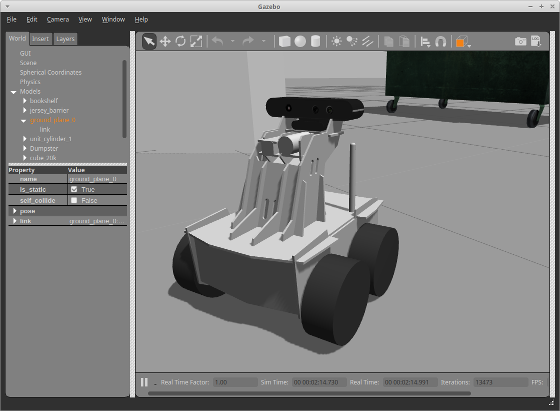
Oculus Prime - ROS Installation

If your Oculus Prime ROV is equipped with an Orbbec sensor, you’re going to want to put it to use. To do that, you need ROS.
Step 1 – ROS Installation
Connect to Oculus Prime via ssh and install ROS Kinetic following the instructions at wiki.ros.org/kinetic/Installation/Ubuntu. Choose ‘Desktop-Full Install.’
NOTE: if running older Xubuntu 14.04 and installing ROS Indigo, follow similar instructions here.
Step 2 – Enable Oculus Prime Server Telnet Port
ROS nodes need to be able to communicate with the Oculusprime Java application via the telnet interface. To enable it:
Edit the oculus_settings.txt configuration file. Change the line:
telnetport disabledTo read:
telnetport 4444(Requires server app restart to take effect). NOTE: Telnet can also be enabled (to port 4444 only), or disabled, in the web browser interface settings/calibration menu.
Step 3 – Install Ros Navigation Prerequisites
Install the required ROS Navigation packages:
$ sudo apt-get install ros-kinetic-move-base \
ros-kinetic-map-server ros-kinetic-amcl \
ros-kinetic-openni2-launch ros-kinetic-dwa-local-planner \
ros-kinetic-gmapping
NOTE: If using ROS Indigo, replace all above occurrences of 'kinetic' with 'indigo'.
Step 4 – Install Git
If necessary, install git by doing:
$ sudo apt-get install gitStep 4 – Oculus Prime Packages Installation
Create a ROS Workspace in your home folder by entering:
$ mkdir -p ~/catkin_ws/src
$ cd ~/catkin_ws/src
$ catkin_init_workspace
$ cd ~/catkin_ws/
$ catkin_make
Change to the ‘src’ directory within your ROS Workspace, and clone the oculusprime_ros package from github:
$ cd ~/catkin_ws/src
$ git clone https://github.com/xaxxontech/oculusprime_ros.git
NOTE: we recommend this source method of installing the oculusprime_ros package (instead of 'apt-get install ros-kinetic-oculusprime'), so that the automatic software updater can update the ROS package without need for root access.
Next, clone the modified depthimage_to_laserscan package:
$ git clone https://github.com/xaxxontech/depthimage_to_laserscan.gitAnd clone the default ROS openni2_camera package:
$ git clone https://github.com/ros-drivers/openni2_camera.gitStep 5 – Install Orbbec Astra Drivers
NOTE: if you’re using a ASUS Xtion camera instead of an Astra, skip to step 6.
If you have an Orbbec Astra camera, drivers have go be installed manually (we find Orbbec’s recent astra_camera drivers to be noisier than the original development drivers). Enter the following commands exactly in order as listed below:
mkdir ~/temp/
cd ~/temp/
wget http://www.xaxxon.com/downloads/orbbec_openni2_files.zip
unzip orbbec_openni2_files.zip
cd orbbec_openni2_files
sudo mv 558-orbbec-usb.rules /etc/udev/rules.d/
sudo adduser oculus video
sudo mv libopenni2.pc /usr/lib/pkgconfig/
cd /usr/lib/
sudo mv ~/temp/orbbec_openni2_files/libOpenNI2.so .
cd OpenNI2/
sudo mv ~/temp/orbbec_openni2_files/* ./Drivers/
Step 6- Build Packages
Build all the packages using catkin_make:
$ cd ~/catkin_ws/
$ catkin_make
Now add the new workspace to the default ROS environment by doing:
$ echo "source $HOME/catkin_ws/devel/setup.bash" >> ~/.bashrc
Finally, reboot the machine:
$ sudo reboot
